Best Settings for Capcut Pro APK Performance
October 21, 2026 (3 weeks ago)
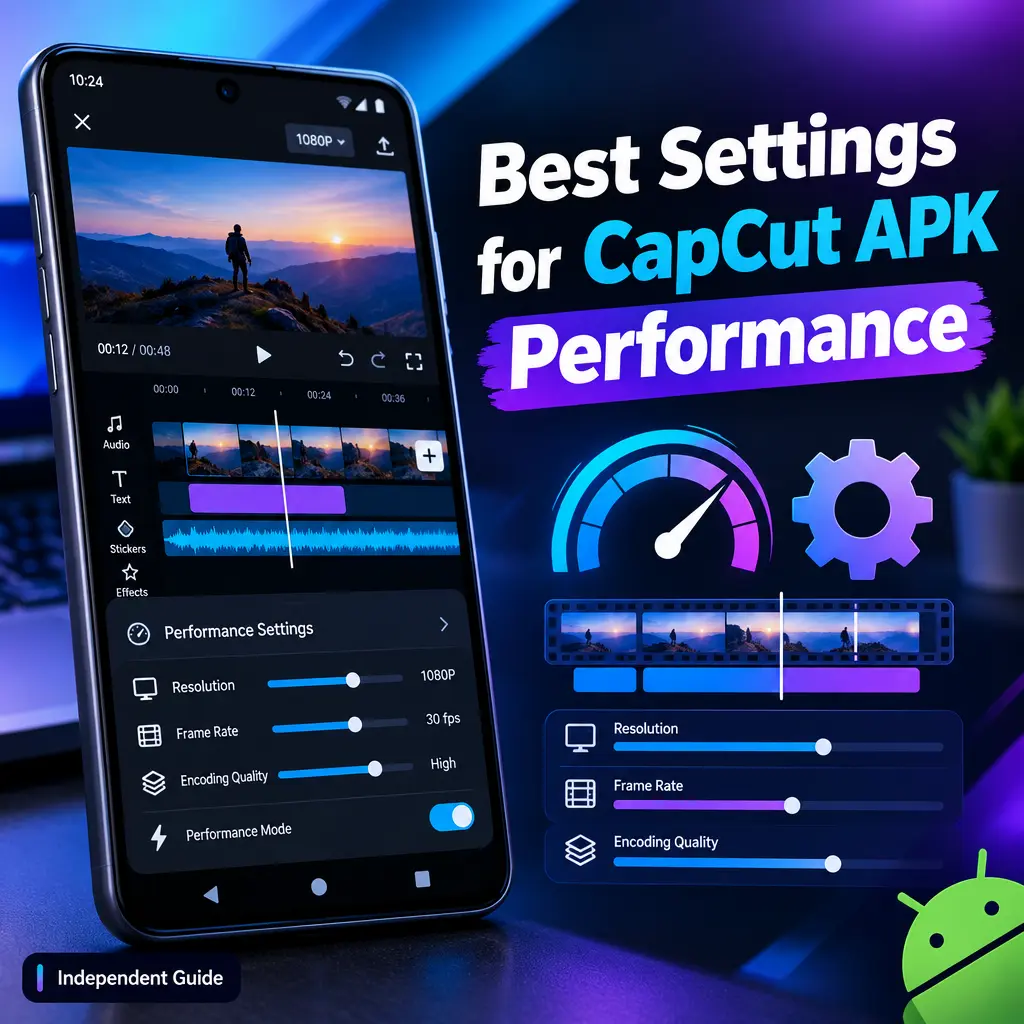
Getting smooth performance in CapCut Pro APK is mostly about using the right project settings, keeping your Android device light, and choosing export options that match your footage. APK packages are Android-only, so these tips are mainly for Android phones and tablets. If you edit on Windows or macOS, use the official desktop version, or run an Android APK only through a compatible emulator. This independent guide is not connected with CapCut, ByteDance, or any official distributor. Also, premium CapCut features require the proper membership in the official app, and feature availability can depend on your device, region, platform, and plan.
Start with the Right Project Settings
The best performance setting is the one that matches your source video. Many lag problems happen when a project is set higher than the clips you imported. If your footage was recorded in 1080p at 30fps, editing at a much higher resolution or frame rate can make previews slower without adding real quality.
- Use 1080p for most edits: It is a good balance between quality and smooth editing on many Android devices.
- Match the original frame rate: If your footage is 30fps, use 30fps. If it is 60fps, use 60fps only if your device handles it well.
- Avoid unnecessary upscaling: Exporting a 720p clip as a much larger file will not magically improve detail.
- Keep projects short when possible: For long videos, edit in sections, export parts, then combine them later if needed.
Use Lower Preview Quality While Editing
Preview quality affects how smoothly the timeline plays while you edit. A lower preview setting does not always mean your final export will be low quality. It simply makes playback easier while you are trimming, splitting, adding captions, adjusting effects, or working with multiple layers.
- Open your project and look for preview or playback quality options, if available in your version.
- Choose a lower preview resolution while editing complex scenes.
- Switch back to a higher preview only when checking final details.
- If playback still stutters, reduce the number of visible layers temporarily.
This is especially useful when using product capabilities such as background removal, animated text, transitions, filters, or effects. These tools can be powerful, but they also use more processing power.
Keep Effects Simple Until the Final Pass
Effects, transitions, stabilization, speed changes, overlays, captions, and background removal can make a video look polished. They can also slow your timeline if you stack too many of them at once. A smoother workflow is to build your edit first, then add heavy creative elements near the end.
- Trim and split first: Remove unwanted clips before adding filters or transitions.
- Add captions after the main edit: Captions are easier to adjust once timing is final.
- Use fewer animated elements: Too many stickers, moving text layers, and overlays can cause lag.
- Apply background removal only where needed: Use it on short clips instead of the full video when possible.
- Limit transition length: Short, clean transitions usually play better and look more professional.
Manage Storage Before Editing
Video editing needs free storage for imported files, cache, previews, temporary data, and exports. If your phone storage is nearly full, CapCut can feel slow, freeze more often, or fail to export. Before starting a serious project, free up space.
- Delete old exports you no longer need.
- Move finished videos to cloud storage or an external drive.
- Remove duplicate clips from your gallery.
- Clear app cache from Android settings when it becomes large.
- Restart your device after clearing large amounts of storage.
Do not delete project files unless you are sure you no longer need them. Clearing cache is usually safer than deleting app data, because deleting app data may remove local projects or settings depending on how the app stores them.
Optimize Android Performance Settings
Your phone settings matter as much as the app settings. Video editing uses the processor, graphics chip, memory, and storage at the same time. A few simple Android adjustments can improve stability during editing and export.
- Close background apps: Social apps, games, browsers, and downloads can use memory and slow editing.
- Turn off battery saver: Battery saver may limit performance while exporting or previewing video.
- Use performance mode if available: Some Android phones have a high performance setting for demanding apps.
- Keep the phone cool: Heat can reduce performance. Avoid editing while charging if your device gets hot.
- Use enough battery: Low battery modes can reduce speed and interrupt long exports.
Choose Smart Export Settings
Export settings should match the purpose of the video. A short social media video does not always need the highest possible settings. Very high resolution, high frame rate, and high bitrate can create large files and longer export times. They may also fail on weaker devices.
- Resolution: Choose the same resolution as your main footage when possible. 1080p is a practical choice for many users.
- Frame rate: Match the source footage. Use higher frame rates only when the original video was recorded that way and your device can handle it.
- Bitrate: Use the recommended or automatic option if available. Very high bitrate can increase file size without a clear visual benefit for simple videos.
- Export test: For large projects, export a short section first to check quality and performance.
No setting can guarantee 4K, 60fps, or every feature on every device. The best export option depends on your phone, footage, storage, and the version of the app you are using.
Edit with a Cleaner Timeline
A messy timeline is harder to manage and slower to preview. CapCut supports editing capabilities such as trimming, splitting, multitrack editing, captions, effects, transitions, and background removal, but using everything at once can overload a device. Keep your timeline clean and organized.
- Delete unused clips from the timeline instead of leaving them hidden.
- Combine simple text layers when possible.
- Use one main music track and reduce extra audio layers.
- Mute tracks you are not currently editing.
- Keep overlays short and only place them where they are needed.
If a project starts lagging badly, duplicate the project if that option is available, then simplify one copy. This gives you a backup while you test lighter settings.
Use Compatible Media Formats
Some video files are harder for phones to edit, especially very large clips, screen recordings with variable frame rates, or files from messaging apps. If CapCut struggles with a certain clip, the problem may be the file itself rather than the app.
- Try using clips recorded directly from your phone camera.
- Avoid editing heavily compressed files received from chat apps.
- If a clip causes lag, convert it to a standard MP4 file using a trusted tool.
- Keep source files on internal storage instead of slow external cards when possible.
Best Practical Setup for Smooth Editing
For most Android users, the best performance setup is simple: edit at 1080p, match the frame rate of your footage, keep preview quality lower during editing, clear storage before large projects, and save heavy effects for the final stage. Use CapCut’s editing tools in a planned order: cut first, arrange clips second, add captions and audio third, then apply effects, transitions, and background changes near the end.
If you are using a CapCut APK from outside an official source, remember that its version, release status, scan status, and contents are not verified here. This guide focuses only on general performance settings and editing workflow. For subscriptions, premium tools, and account features, use the official CapCut app and the appropriate membership.
Recommended For You